

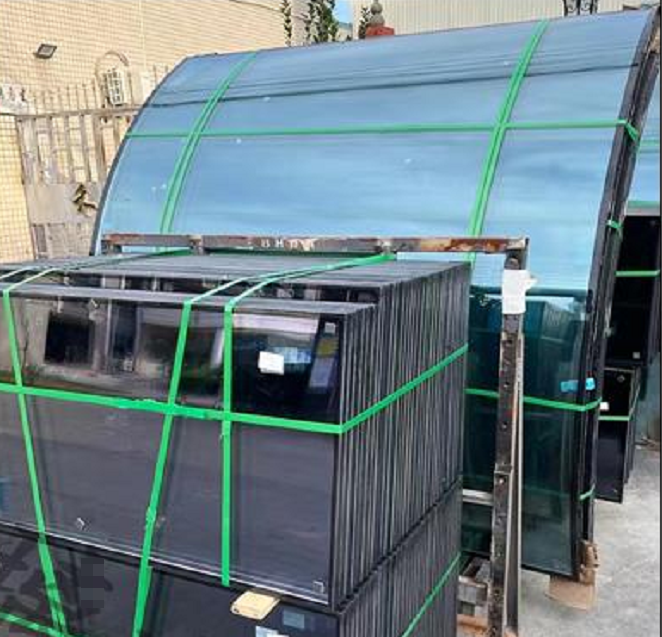
On the insulating glass line, a sealant heater that drifts or runs weak doesn’t just cost you time—it shows up as rejects. When the bead sees uneven heat, you get uneven cure, then callbacks for fogging and edge stress. We built our greenhouse glass sealant heater to focus on the one thing that matters at the seal: steady, even heat, repeatable cycle after cycle. What matters technically We run medium-wave infrared quartz elements for fast response and tight control, putting 1.5–3.0 kW/m where the bead needs it, depending on your profile. At the sealant, the heater face runs 200–260°C, and it holds ±3°C stability even when line voltage swings. The low-thermal-mass design cuts warm-up time, so you spend less time waiting and more time sealing. We cover standard voltages—230 V and 400 V—with 24 V control so it integrates cleanly. The frame is built for life in a glass plant: stainless and ceramic insulators stand up to flux and condensation, and the terminals stay accessible so maintenance is quick. Why it works on the floor Energy use drops because the heat goes straight into the sealant, not the whole machine frame. Plants typically see 12–18% lower kWh on the sealant section, and cure consistency tightens up. That means fewer rejects from incomplete adhesion and less rework chasing edge stress. First-pass yield improves, and you stop less often for touch-up, so the line keeps moving. Component life stays long, too, which means fewer part swaps and more time shipping good IG units. What to watch for Installation is straightforward, but the heater has to match the bead geometry and your conveyor speed. Keep a 3–5 mm standoff so you don’t overheat the primary seal. Keep the reflector clean, and check emissivity on coated spacers—otherwise the control loop ends up chasing a moving target. If your line runs frequent width changes, plan for a quick-change bracket. Without it, setup time can quietly creep up on you.